Wednesday, 3 July 2013

lawn tennis dress


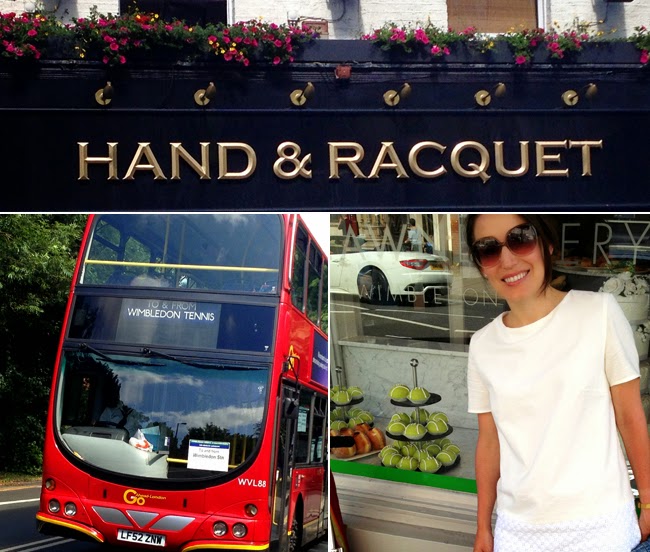
I think I've mentioned on this blog before that I'm into sporting fashion, and, even though I'm only a tennis fan by marriage, tennis my favourite kind of sport - the kind where people are interested in seeing what the athletes AND the spectators are wearing.   There are a lot of cute articles out at the minute like this one in Marie Claire, which plots the history of Wimbledon fashion -- definitely worth a read.

Every year when June rolls around my sports mad hubby's eyes start to light up at the prospect of two weeks of non-stop tennis on the TV, on the radio, at the breakfast table...   He's especially keen to get day passes on the first Saturday of Wimbledon, which requires getting up at 4am and joining The Queue, and gets you into the grounds by mid-morning.  I usually oblige because they have Pimms and prosecco and strawberries and cream I love to watch a good game of tennis.

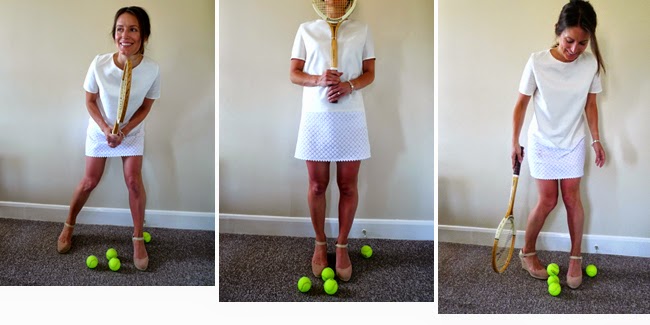
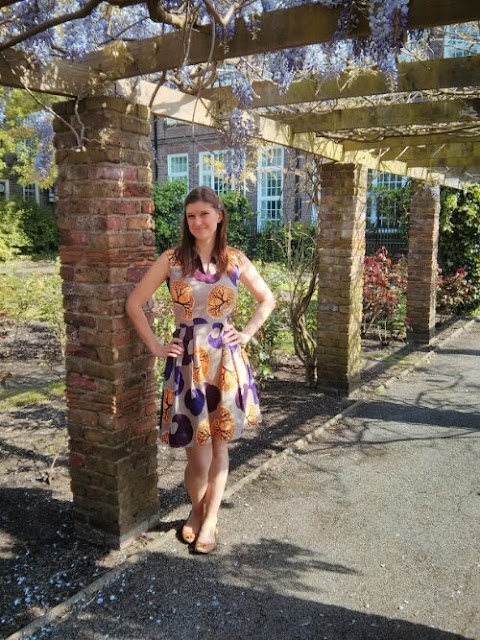
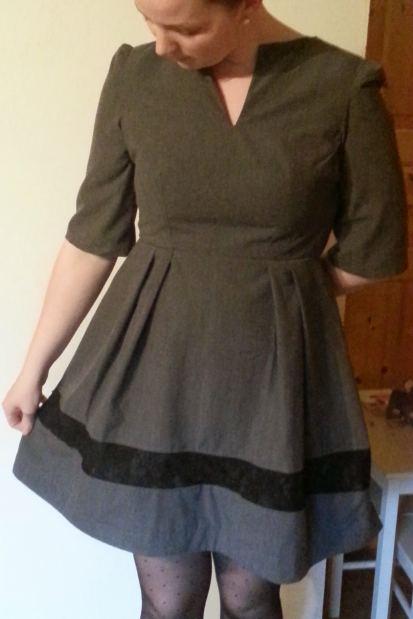
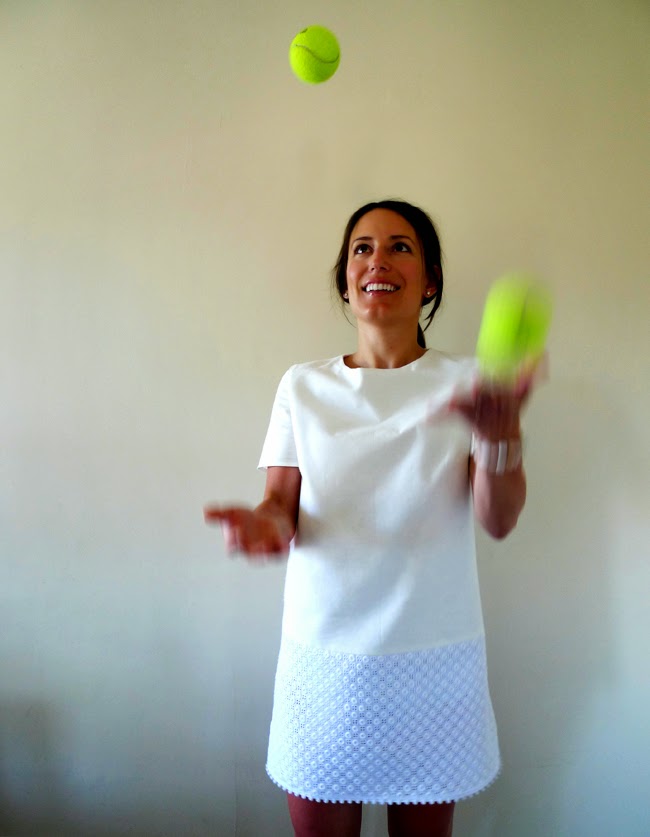
This year I decided I had to make it a little more interesting by whipping up my own "lawn tennis dress".
I made this Burda Retro Top 07/2013, and sewed a panel of leftover fabric from my Bianco dress to the hem as a "skirt". (And a scrapbuster - yahoo!)
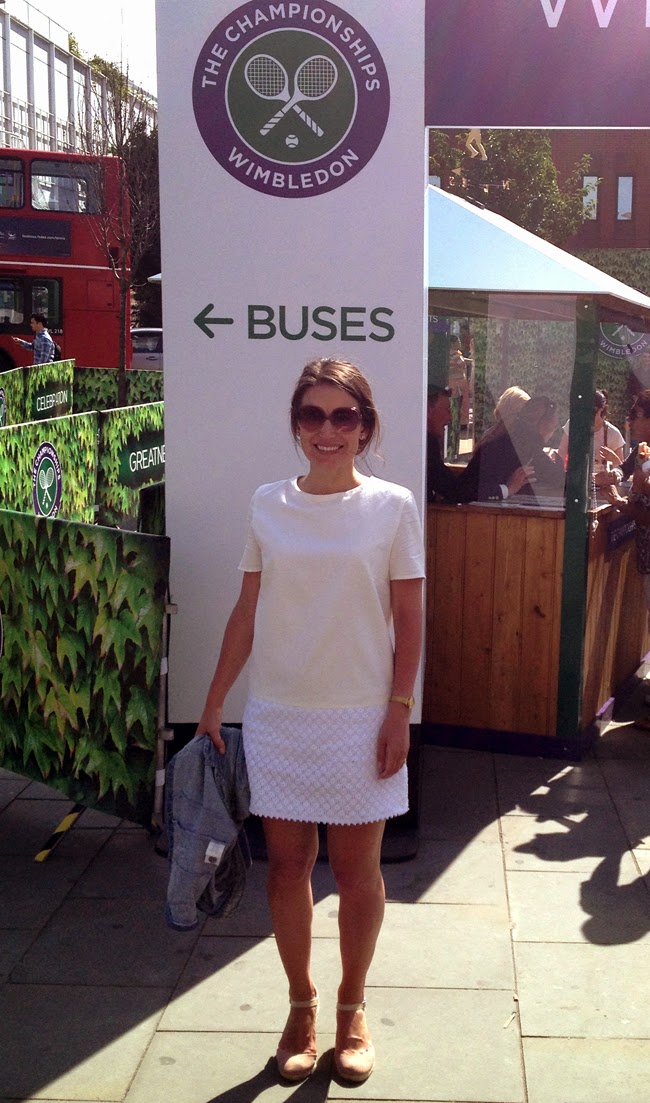
The only problem was, despite arriving at the club at the indecent hour we usually do, this year's Murray Mania meant The Queue for morning entry was already full!   
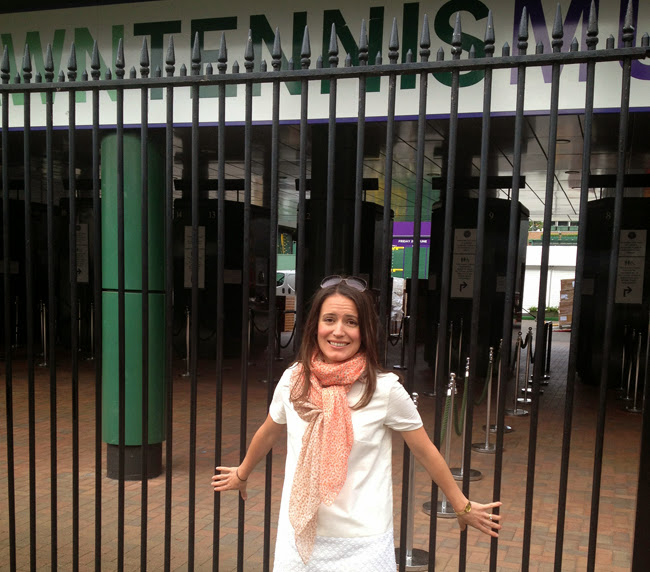
Entry gates to the All England Lawn Tennis Club
 So we did what any hardcore tennis fans woud do and headed to Wimbledon common with our breakfast picnic.  Actually, the day in Wimbledon was nearly as fun as being inside the tennis club.  The excitement in the village was palpable and the sun shone nonstop.  Being up and out at crazy o'clock meant we had the whole day to enjoy.

Besides, I had to take my new minidress for a spin...
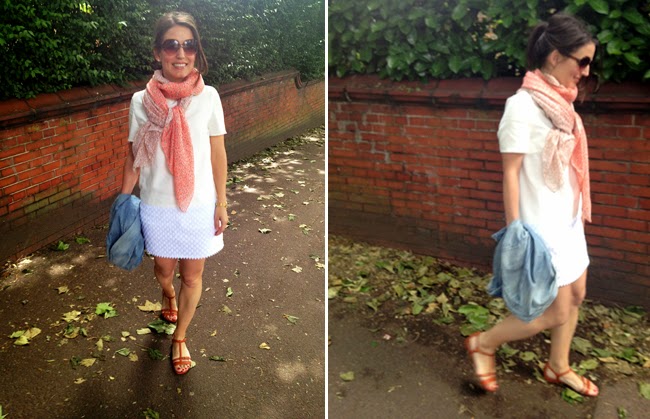
About the dress - it's ultra simple, but for me the cut was perfect for the day.  I  used the Burda pattern as a starting point because I loved the retro silhouette.   Since the weather's always a toss up I had to be prepared for heat or rain, so loose short sleeves it was, and I didn't want to sit for hours in something tight. 
   
I used an organic white cotton that was more of an ecru colour compared to the stark white of my Bianco dress fabric, and finished the short hem with white pom pom trim.
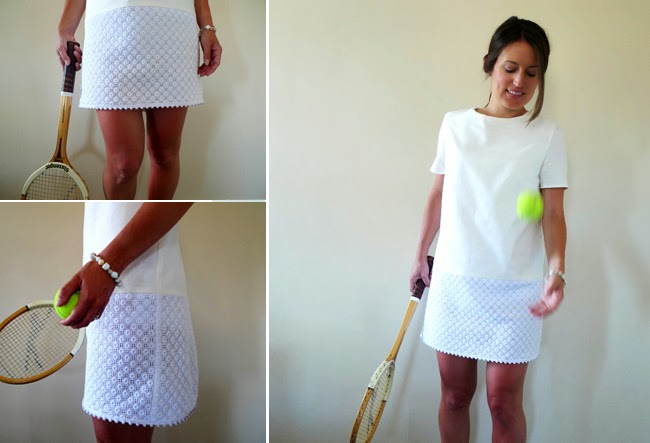
Maybe next year it will make its debut on Centre Court!

Anyone else out there into sports for the fashion?
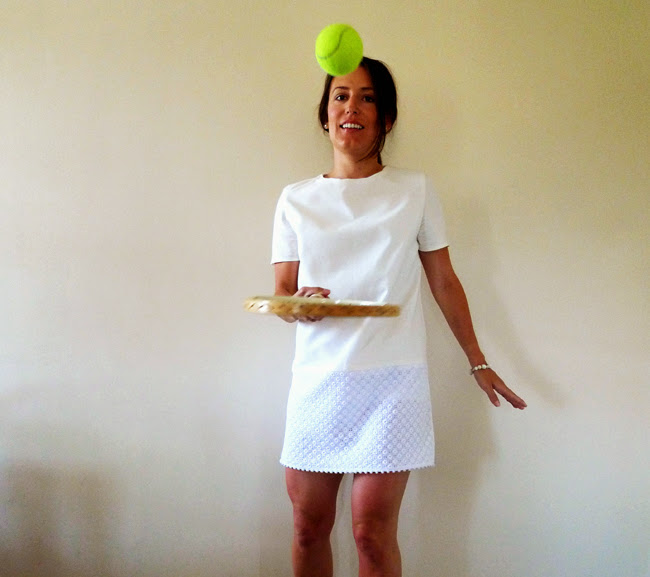
Go Andy!

Saturday, 15 June 2013

"Give me a closet* and I will fill it"

...the famous words of Picasso (*okay, so he was talking about a museum, not a closet). 
Where the early 20th century artist had Montmartre, we have Liberty!

I got to hang out at Liberty with my mom recently, when she was visiting.  We spent the afternoon wandering  wide eyed from floor to floor, inspecting the stitches on the stunning outfits on the fashion floors, dreaming up designs, gushing over the fabrics on the haberdashery floor and then replenishing our blood sugar with flourless chocolate cake, scones and cocktails in the cafe.  (All part of the experience, we told ourselves.)

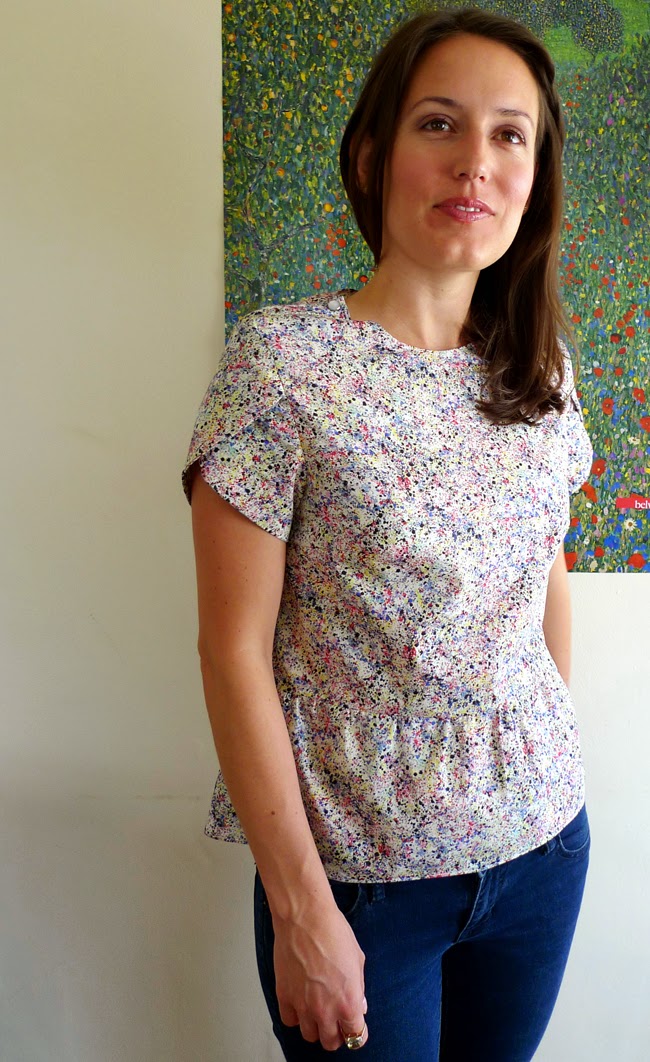
If Picasso were a 21st century home sewer maybe he would have picked up this artist-like paint splatter Melly Tana Lawn (incidentally also purchased by Almond Rock around the same time - can't wait to see what Amy does with it).
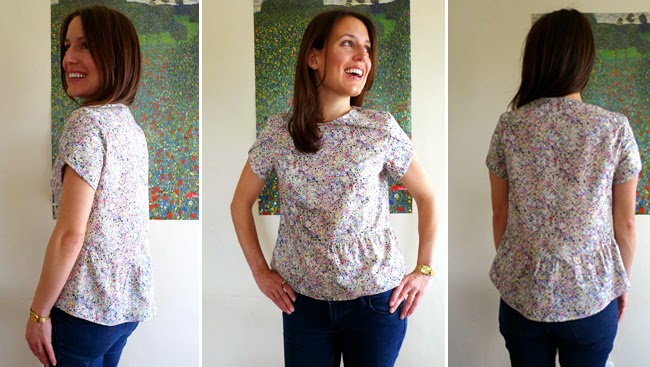
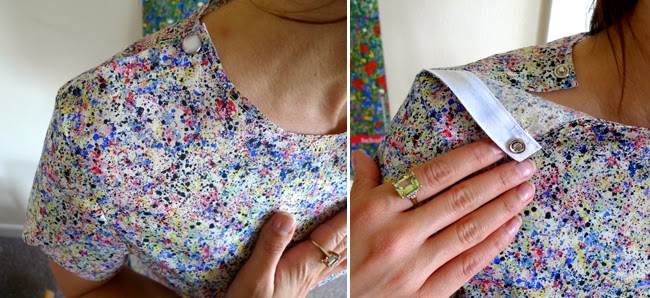
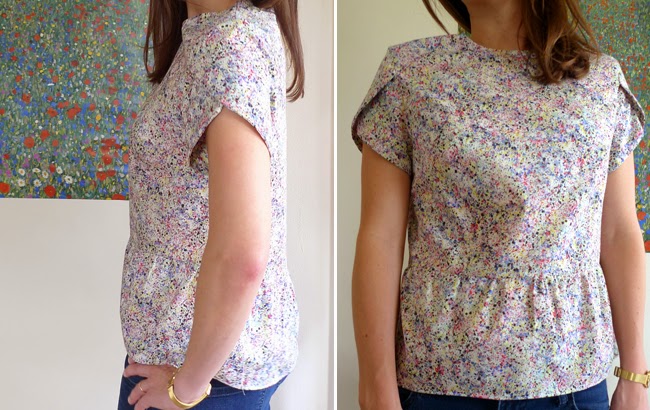
I bought about a metre of fabric so I made this boxy summer blouse with a loose peplum, slightly longer in the back, and petal sleeves.
I went for a snap closure on the shoulder to avoid a centre back seam.
The petal sleeves are lined with self facing.  I didn't line the rest of the blouse, to keep it light and summery.
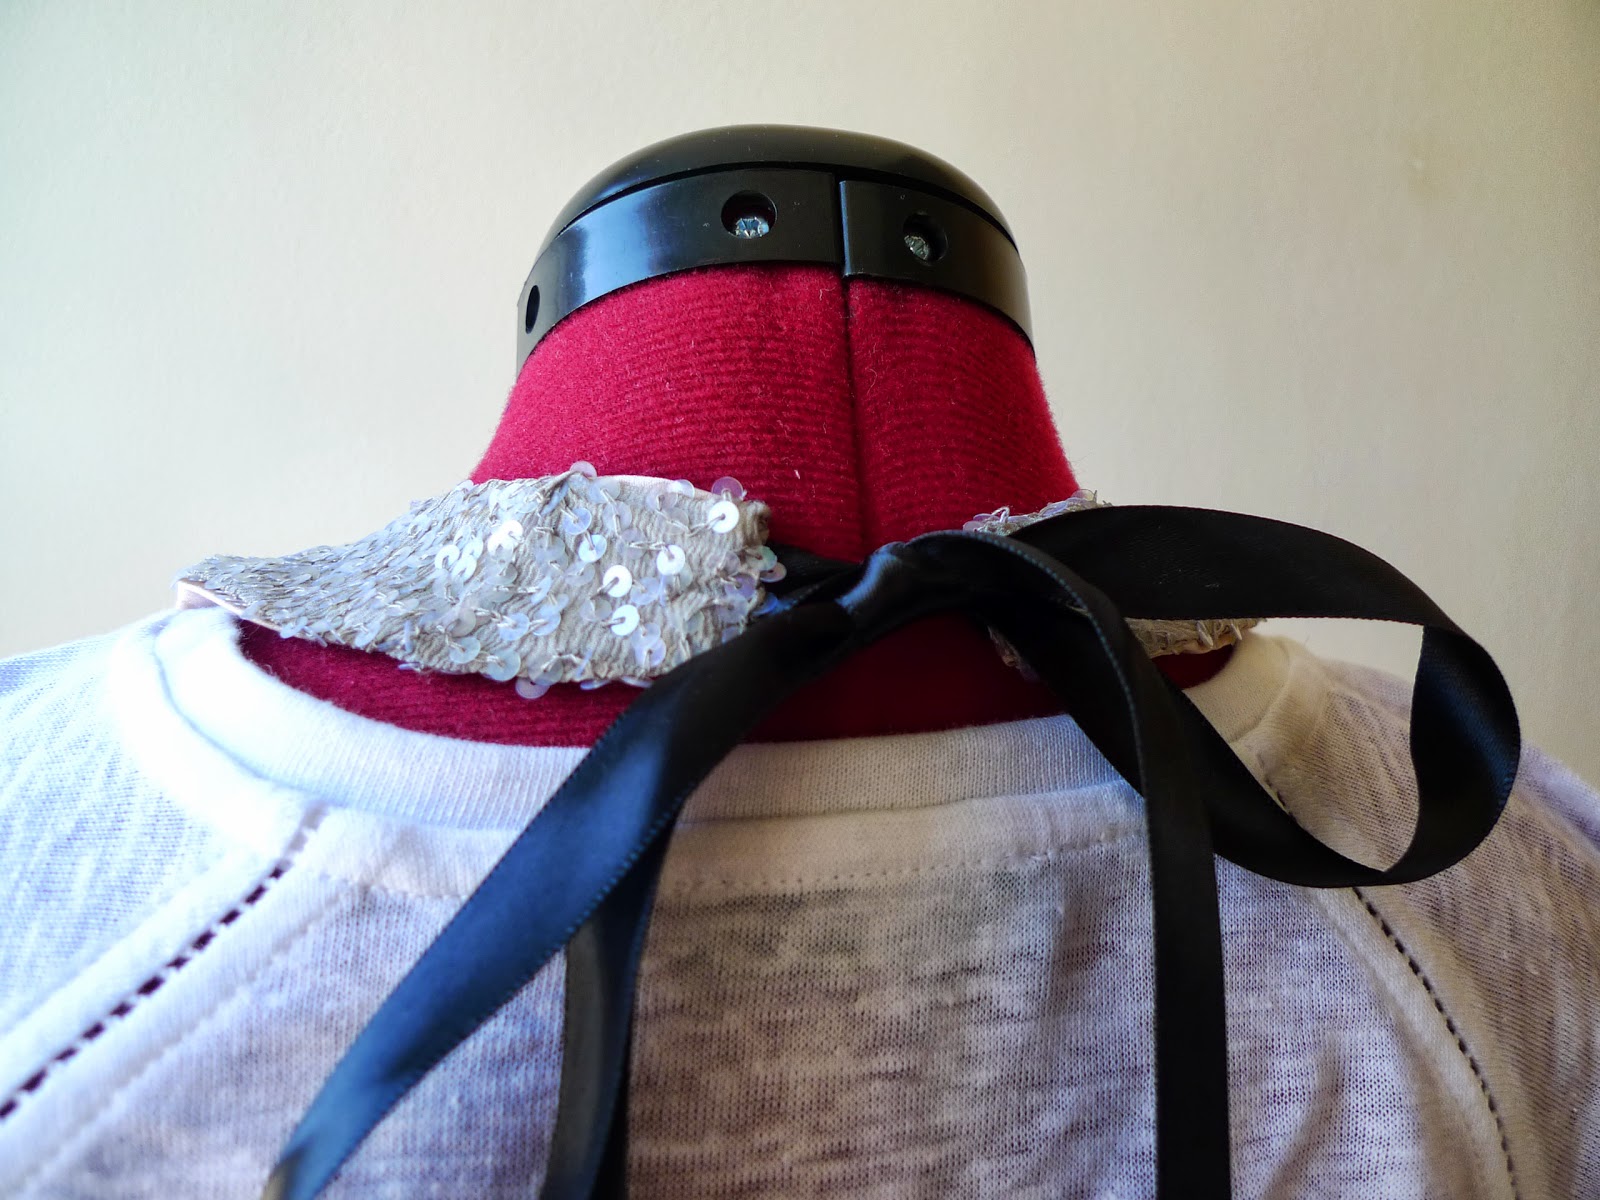
A final photo paired with my scrapbuster collar.  Too much? ...maybe... but can't a sewer be eccentric too?

At least temporarily...  

Friday, 7 June 2013

Scrap Buster Project - Patchwork Necklace

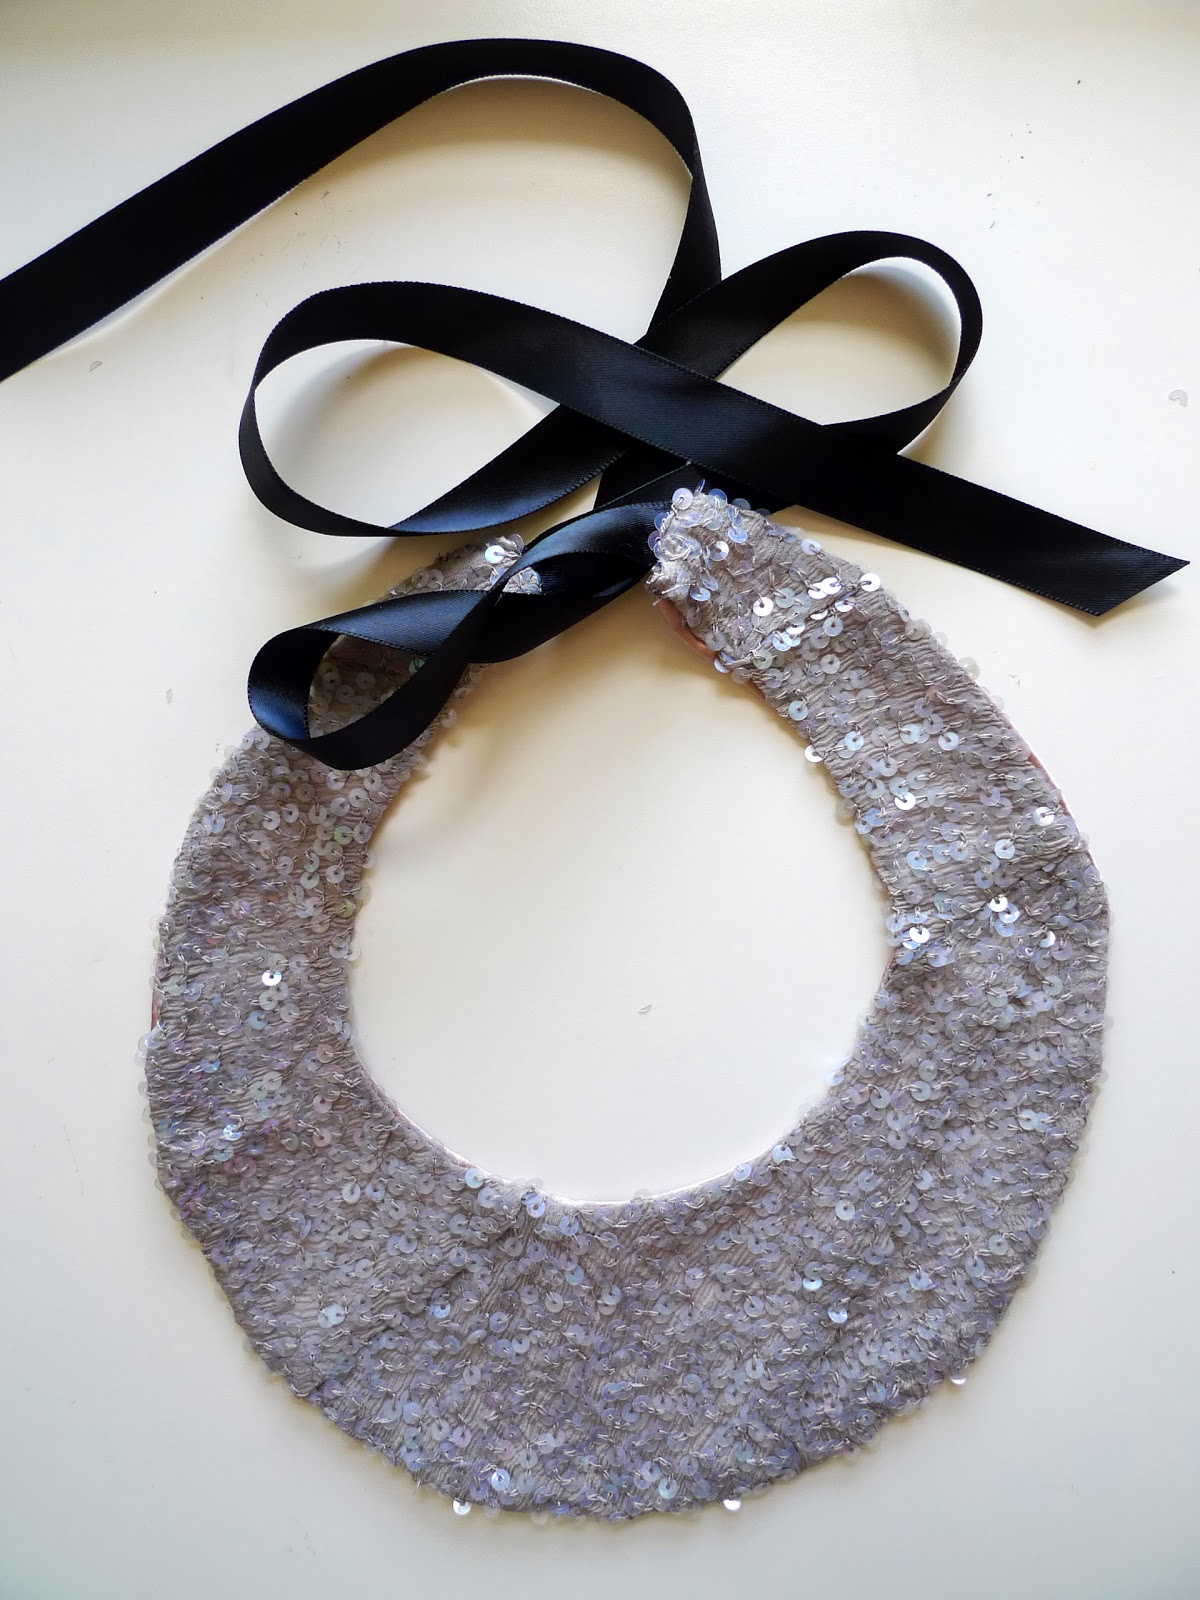
Here's another quick and low effort scrapbuster project.  With this one, you won't burn a whole in your scrap heap but you can reincarnate some favourite fabric -  in a fun collar or fabric necklace. 
I used some scraps of sequins fabric and pink satin from a previous dress, that I couldn't bear to throw away.
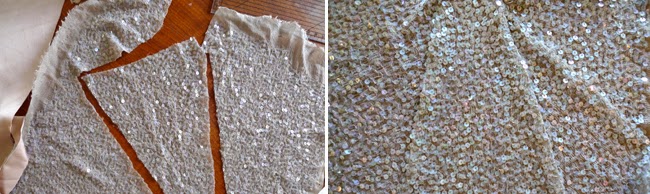
 First, I sewed the scraps together in kind of a a slapdash patchwork quilt manner, to create a full piece to cut a template out of. The seams create an abstract effect which I think in a way is nicer than cutting out of a complete piece.  It would be fun to use different pieces of fabric too.
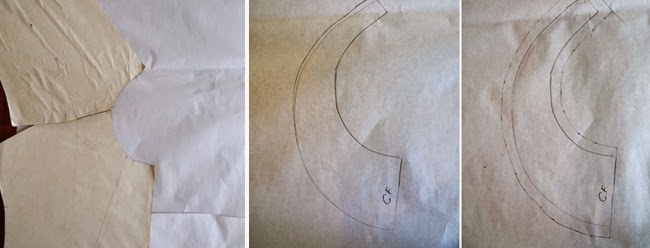
 I used my blocks as a template to trace a neckline.  When I was satisfied with the shape I added my seam allowance.
You don't need to use a block - you can trace the neckline of a favourite bodice pattern or draw one freehand, testing to make sure it lays flat around your neck.  Dropping the top of the neckline by a few centimetres will give you more of a necklace effect opposed to a collar.
One thing to remember - bear in mind the thickness of your fabric and give yourself enough space at the ends to pull the piece right side out - see below.
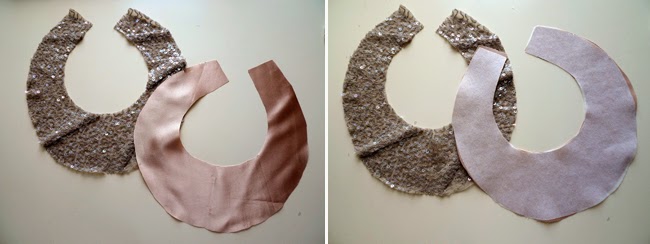
I cut out two pieces, and added interfacing to the satin fabric on the back.
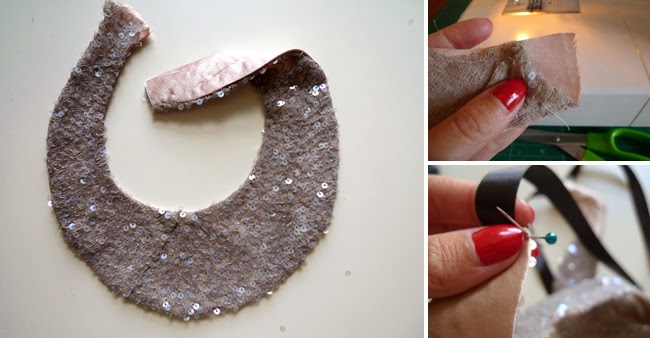
Next you need to sew them right sides together, along to two long edges, in order to pull the piece right side out through the ends.  If you don't have enough space to do this, remove a few stitches as I've done below, which you can restitch by hand later.  
Sew on a ribbon or other form of closure.
VoilĂ ! 
Happy Friday.


Friday, 31 May 2013

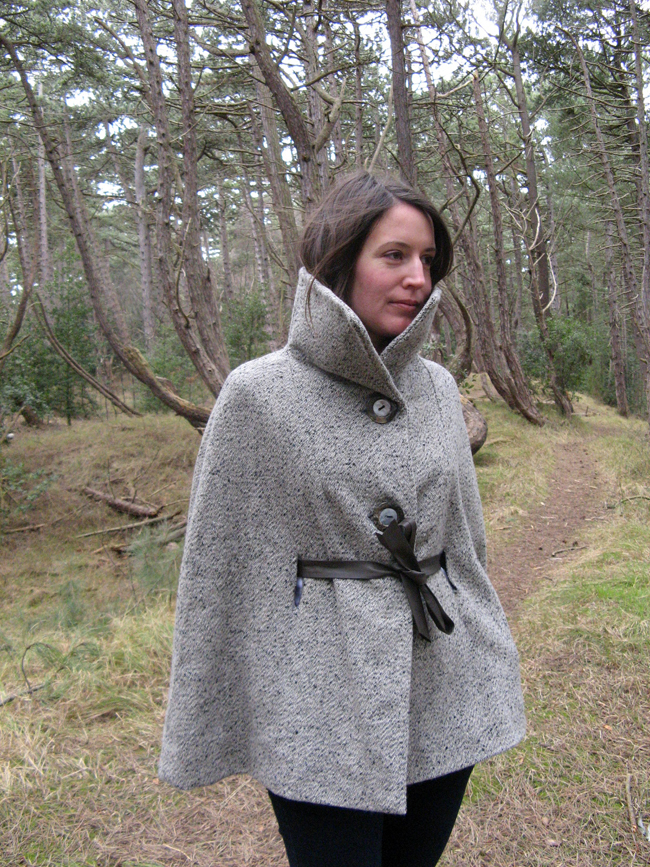
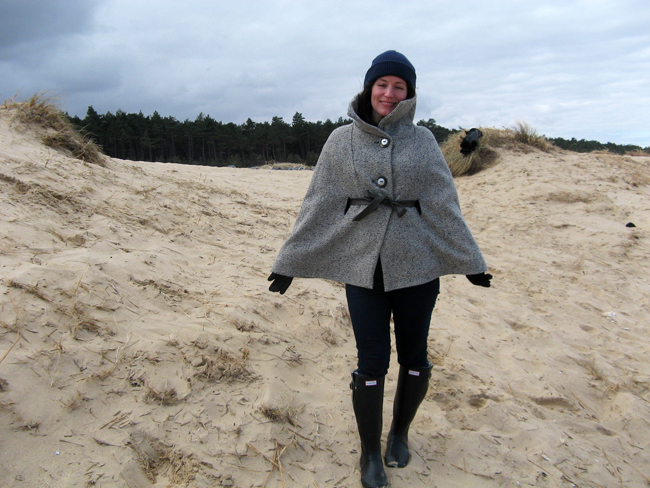
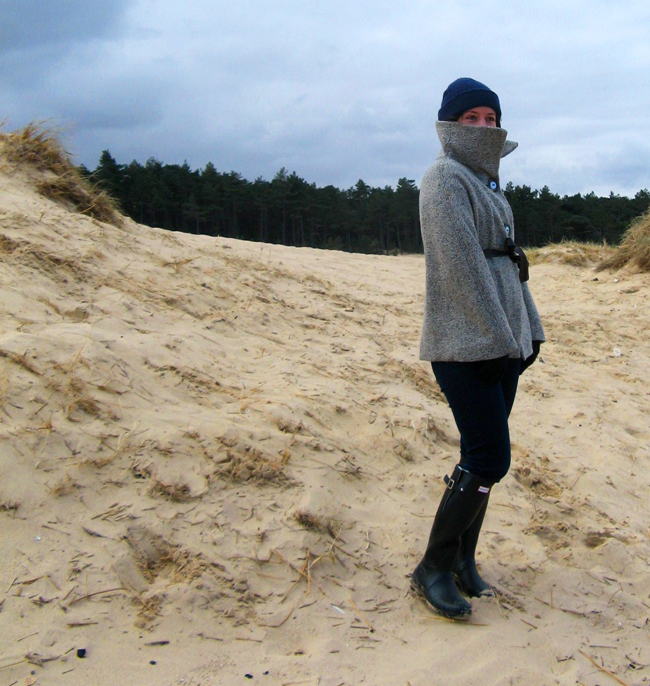
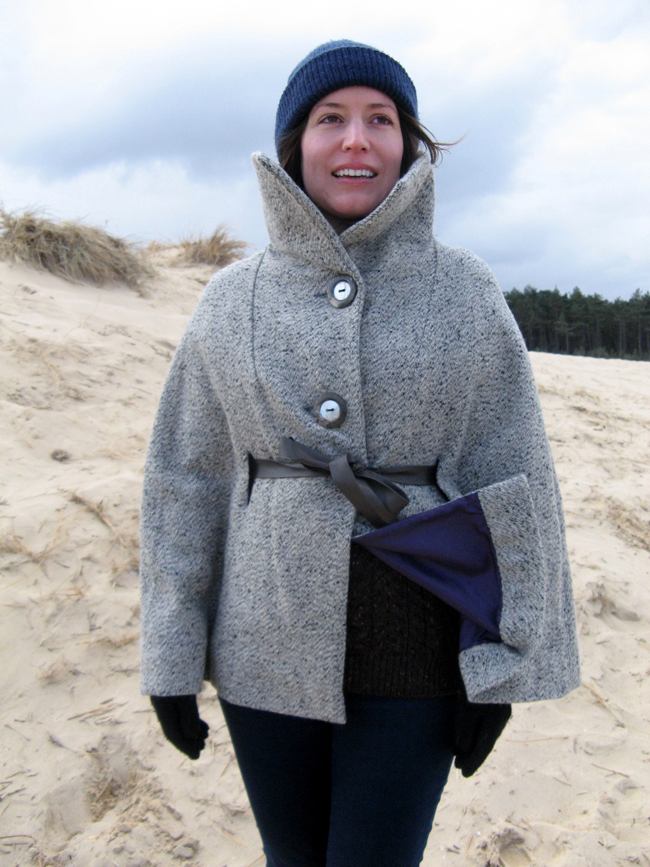
the Cape of good Hope

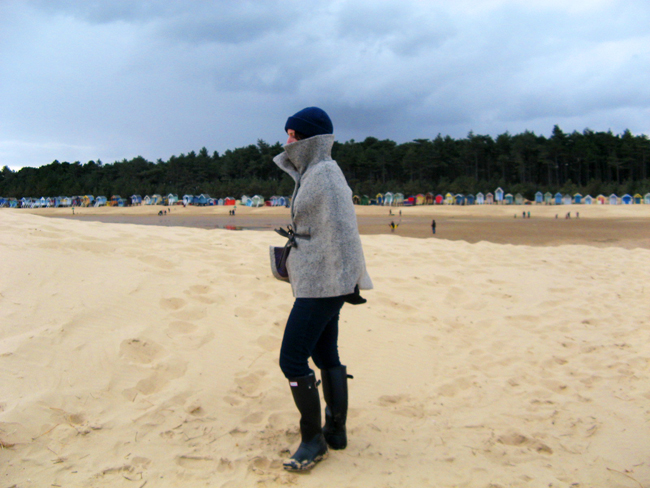
Here in England we've been anxiously hoping for warmer weather...the newspapers keep reminding us that it's been the coldest spring in 50 odd years or so.  Today the sun is finally out, so it feels strange to be posting about my wool cape!  It's not often though that I get such amazing scenery as a backdrop -- the pictures were taken in cooler weather at the amazingly beautiful Holkham Beach in Norfolk, that one in the final scene of Shakespeare in Love -- and didn't want these to go to waste.   Here I am doing my best stranded on the beach pose...well, good effort anyway.
This is not a new project, and there have been so many beautifully made capes all over the internet for a while now, but I thought I'd blog about it because if your'e thinking about trying a self drafted pattern, it's a fun and easy one to experiment with.  
 
Patternmaking guides will give you a technical how-to for making a cape, but capes aren't meant to be taken seriously and I don't think the pattern has to be either! All you need is some patience and to be willing to make up a toile or two.
What you'll have to do is take a front and back bodice block, or a commercial bodice pattern that you know fits you, extend at the waist to the hemline and draw matching "wings" from where the shoulder seam would be, eliminating the arm holes and waist dart.

A couple of things to keep in mind:
- make sure there is overlap at the centre front, for your button stand or closures
- measure across your bust and arms as a guide, and take into account the space needed for arm and shoulder movement 
- your arms can either come out the bottom, as they do here, or through larger holes in the front
- it's best of the block or pattern you are using has shoulder darts, to give some shape
- don't forget seam allowances!
- make sure to test and re-test your pattern with a toile
This cape has side seams and a seam down the back as well.
 I picked up the mother of pearl buttons at a fleamarket in Paris  (I say that so casually, like I go there every week-end - I wish!) The button holes themseves are, shall we say, "organic", zigzagged around the edges.  As it's not meant to be a formal cape, bound buttonholes weren't the look I was going for here, and I'm happy with the end result.
  I've had this in my closet for a few years now I can't say it's been a go-to piece, but I'm happy I have it and loved wearing it on this week-end get-a-way.
I added a high collar, stabilising with heavy interfacing, but it certainly doesn't need one.  
Right now my hope is that I won't have to wear this cape again until November...! 
Here's to the sun - have a great week-end! 


Wednesday, 29 May 2013

waxing poetic

Anyone still looking for inspiration for a spring / summer sewing project?  Have you thought about an African wax print dress?
The talented Katy from Sleek Silhouette has just whipped up another GPD that's bound to turn some heads in the street, this time in this bold and funky wax print!

Thank you Katy, for another beautiful version!
I'm a big fan of wax prints - they are easy to sew with and the bright colours are instantly uplifting.  If you've seen my gallery on Burda you might recognise this dress (the first I ever posted!).  I still love the emerald green colour and gold flecks on that fabric.


In London African wax print is readily available - I'm a big fan of Dalston and Shepherd's Bush markets. There are so many variations to pick from and choosing the perfect print is part of the fun...so if you haven't already, get out there and find some - you won't regret it!


Tuesday, 21 May 2013

GPD in Norway

  Just a quick post to share with you Trollemor's lovely linen GPD complete with contrast pockets.
 Elegant or what?  ...Can I wear this dress to work tomorrow please?
I just love the colour and the the weight and fall of the fabric with this pattern.  I think you'll agree Trollemor looks rather fetching!
In fact, this is her second GPD, the first in a light grey with a black lace contrast band below.
For more, check out Trollemor's blog, Stitches and Pearls.  It's full of some really lovely things and check out the recent posts on tradtional dress for Norway's National Day - wonderful.

Takk, Trollemor!


Saturday, 18 May 2013

"Scrap Buster" Series - Stitchin' Timeline

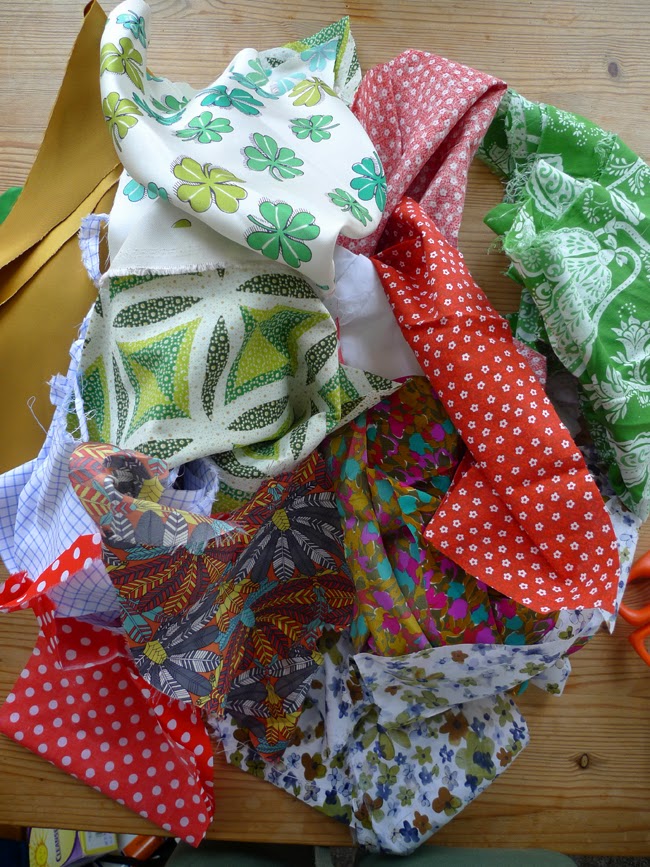
There's been a lot written about "stash busting" - what to do with all those extra yards of fabric you've accumulated over the months and years since you began sewing.  Colette Patterns has just put out a great little design out to conquer that.  The bigger problem for me has always been what to do with scraps - you know, those little pieces left after you cut out a pattern - too small to make a garment from, too big (and too painful) to throw away...  So I thought I'd do a little series of my own to contribute to the ideas on what to do with scraps!
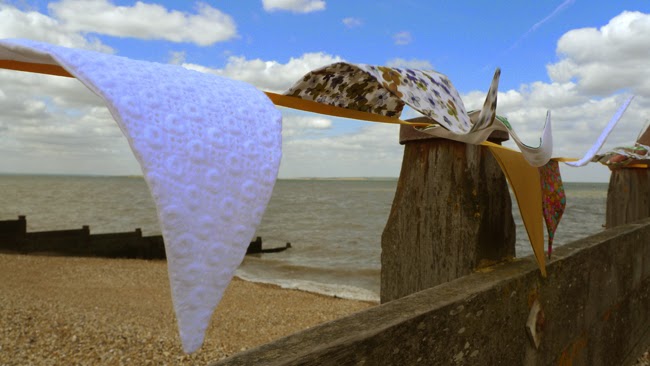
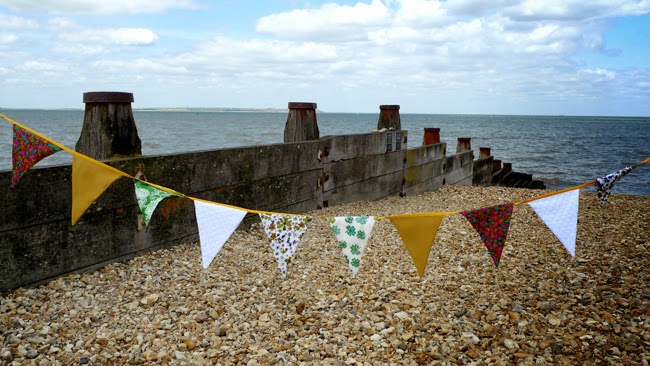
The first is one of my favourite adopted English traditions - bunting.  Little fabric flags which  hang from a ribbon and flutter in the wind.  You see them everywhere for parties, picnics and especially in summer.  They shout, "celebrate!"  and if you're a reader of my blog you may have already noticed  that I'm a fan.  Actually, I'm slightly obsessed.
I've made a lot of bunting over the years and I've also given a lot of it away.   To a friend who was getting married and wanted miles of bunting hanging from the trees, I passed on a strand from my own engagement party to get started.  I made my niece a strand for her bedroom, using fabric from dresses I'd sewn for her made of beautiful cotton voile fabric with whimsical fairy tale scenes.  
They are great personal gifts, they are reusable, and they are an instant gratification, low effort, mood enhancing sewing project, and you can never have too many.  But that's not my favourite thing...
...What I think is especially cool about bunting, if you already make your own clothes, is that they become little memory capsules of what you were sewing at a certain point in your life.  If you make them regularly then over time you'll have a catalogue of your projects and a reminder of how your tastes and styles have changed, and all the memories of your projects along the way...
I bought the colourful fabric on the left around the time my niece was born. It reminds me of the weather that week and how happy we all were, and even though the blouse I made wasn't that successful, I still get warm and fuzzy feelings when I look at it.  You might recognise the gold flag in the middle from my Elisalex and the green and white became an Anda.

The white flag is below is from the "bianco"dress that I made for my honeymoon, and the watercolour like flowers  to the right became a tea dress that I haven't actually worn yet, but I remember the sunny and slightly heady Saturday afternoon last year when I bought the fabric in Dalston market, after a few too many pub stops on the way!

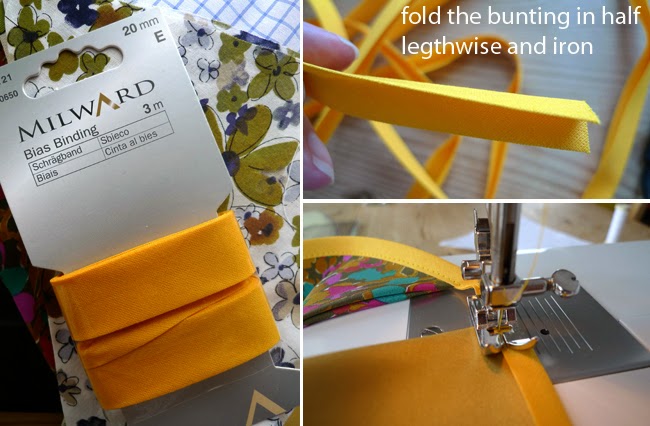
So, on to the more important business of how to make your own.  There are no rules of course, but here's what I do.  I use bias binding for the string, and with three metres you can fit about 13 A4 sized flags.

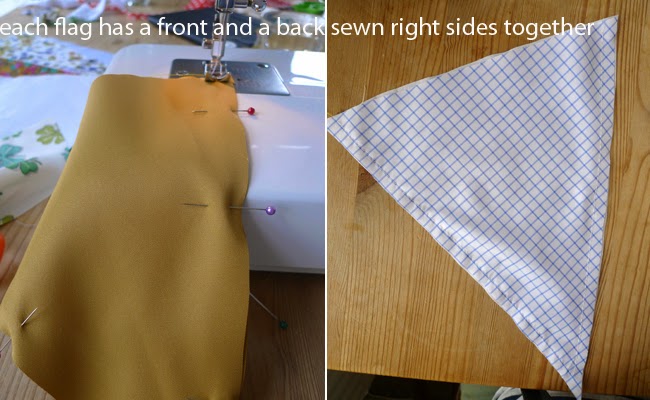
First, draw a triangle shape (or any shape!) on a piece of paper.  Include seam allowance.  Cut two pieces for each flag - a front and a back.  
Sew the front and back right sides together, down the sides of the flag, leaving the top open.
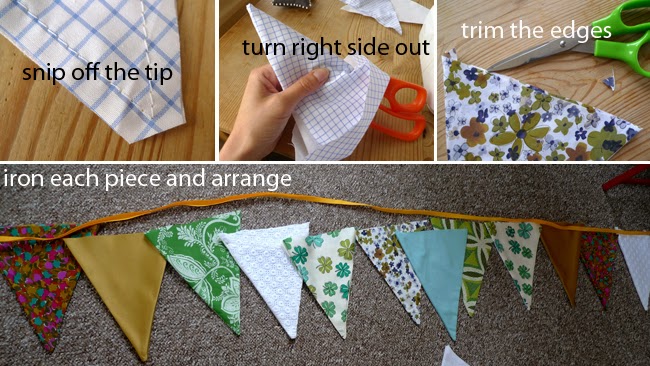
Trim the bottom of the fag and turn right side out and clip away the seam allowance from the top of the flag.  Once you've finished all of your pieces, the fun part of arranging them.
As I mentioned I use bias tape as the string holding the flags together.  You'll need to iron it in half lengthwise first.
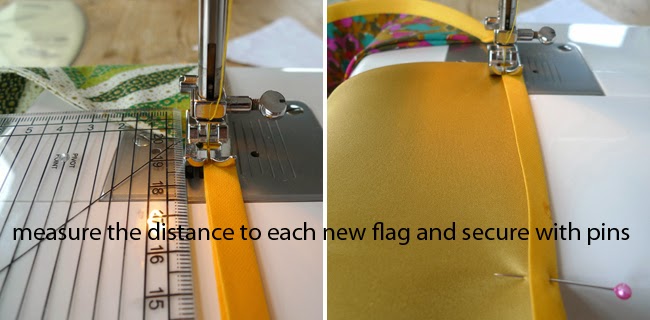
To attach each flag, sandwich each one between the bias tape, pinning each in place as you go.  I like to pin one at a time, measuring as I go and using pins to secure each new flag in place.  Sew close to the lower edge of the bias tape.
And there you have it!

I have a few more of my favourites to come -- but would love to know, what do you do do with your scraps?