Thank you everyone for the enthusiastic response the pattern I posted this week-end! I'm really happy so many of you like it and I can't wait to see your versions!
As promised, a quick tutorial on how to change the location of the skirt band, if you are sewing version 1. If you noticed the difference between these two versions, I had to drop the band on the right since I was using lace. The version on the left is true to the pattern.
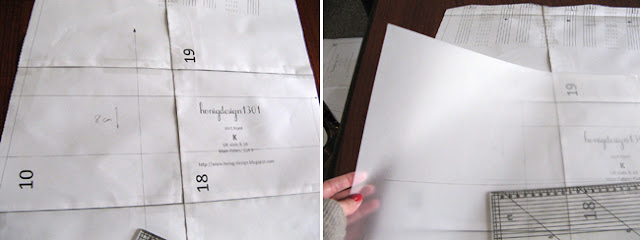
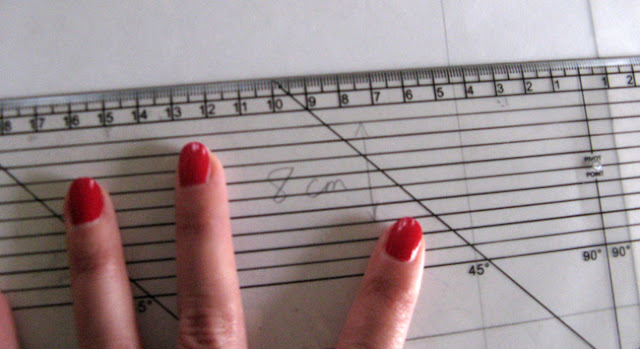
If you want to change the location of your skirt band, use pattern piece K (version 2), and draw two parallel lines 8 cm apart (the new location of the band), at a right angle to the centre front.
Next, trace off the band onto a new sheet of paper. I've used tracing paper here, you could use a light weight piece of paper or a pattern tracing wheel.
 |
| (I've cut a size 10 - the line on the side seam of the skirt is not added seam allowance but the size 8 marker.) |
Now, add 1.5cm seam allowances to the new band on the top and bottom ONLY.
Return to pattern piece K and add 1.5cm seam allowances to the bottom of what is now the top third of the skirt, and the top of the bottom third of the skirt. This means the distance between the two is no longer 8cm but 5.
Cut away the 5 cm in between, and you now have three new pattern pieces.
Do the same to the back and you're ready to go!
If you're changing the length of the skirt and you want to include a hem band, it's the same process, without cutting away any of the main pattern. Simply draw a 2.5cm band onto the bottom of the skirt, trace it off and add seam allowances, to the top and bottom but not the sides.
The reason you have to go through these steps, rather than simply cutting a strip of fabric, is that the skirt is an a-line and not a rectangle, so you want to make sure to maintain the angle on the side of the skirt.
Stay tuned, on Wednesday I'll show you how to customise the sleeves to your desired fit.
Until then, happy stitching!


No comments:
Post a Comment